Speaker Replacement for 1999 Toyota Tacoma
My instructions for replacing the factory speakers in your 1999 Toyota Tacoma
The following instructions are for replacing the factory 6.5" round door speakers in your 1999 Toyota Tacoma with aftermarket speakers.
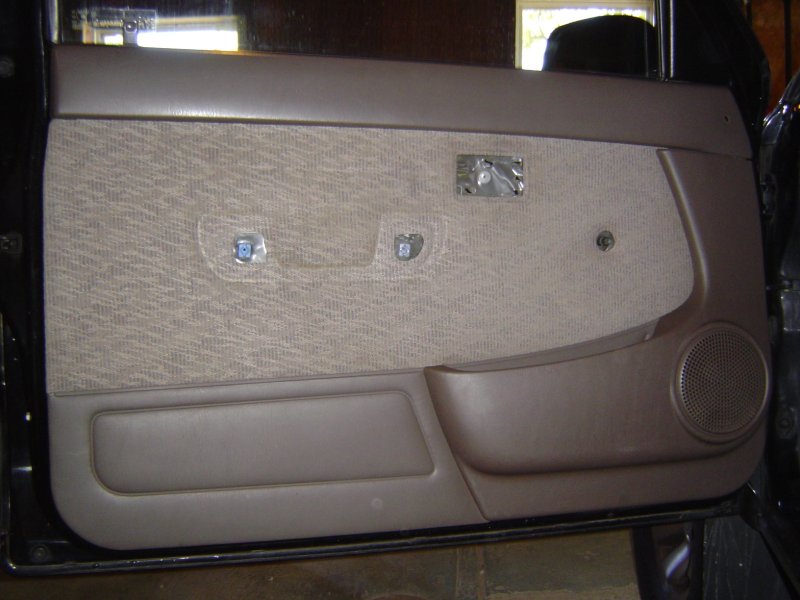
- Remove all the items from the door frame. (image #2)
- The armrest has two screws.
- The door latch has one screw. After you remove the screw, the unit slides forward and then pops out. Then you have to remove the clip from the rod.
- The window crank has a clip behind it that holds it in place. instructions
- The door panel should pop off now. There are a few plastic clips that hold the panel on. These can be easily pulled apart. I didn't remove the panel from around the window section.
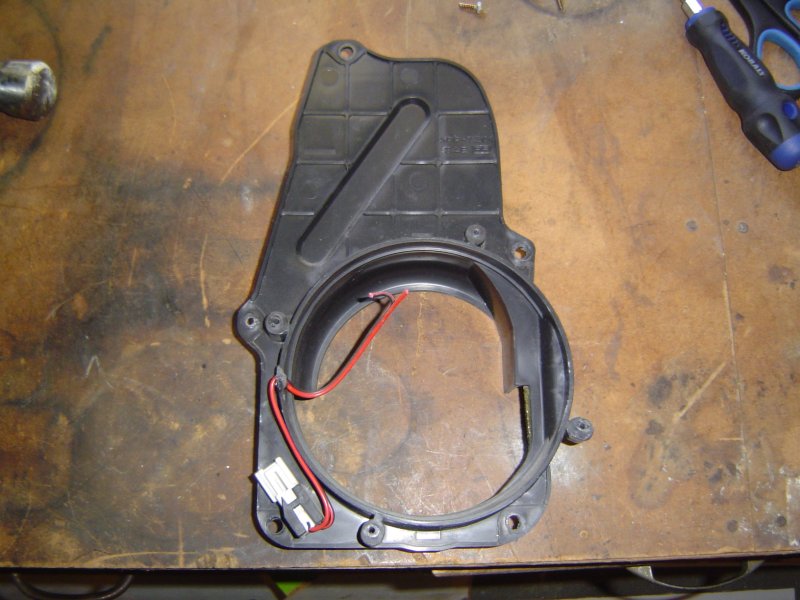
- Remove the factory speaker mount. (image #3)
- There are five screws that hold the plastic speaker mount to the door frame.
- Unhook the plastic wire harness.
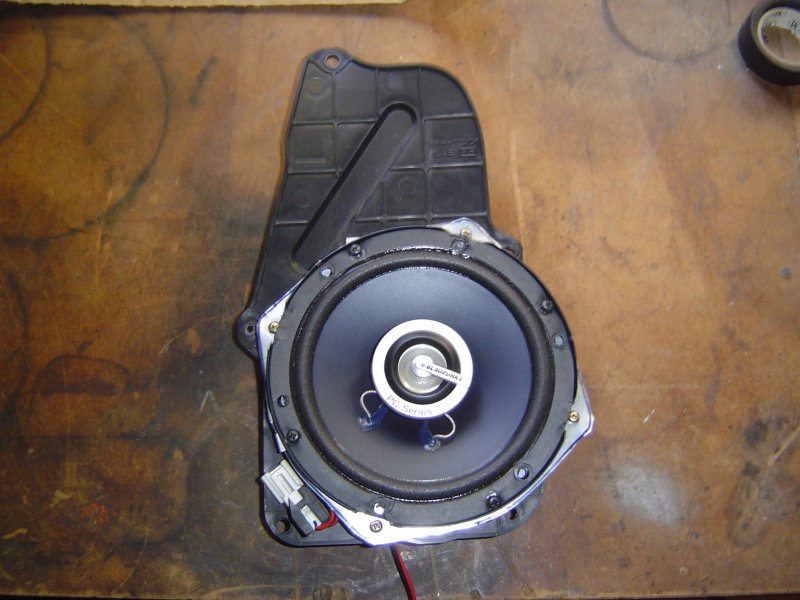
- Remove speaker from plastic mount. (image #4)
- Cut the speaker wires close to the old speakers so you have enough to wire the new ones
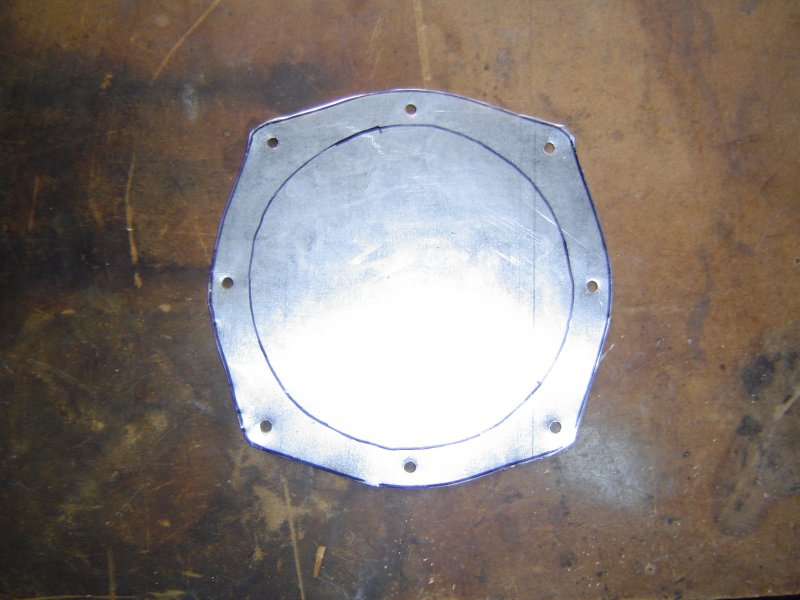
- Trace the factory speaker onto a piece of sheet metal so that the mounting holes will line up correctly. (image #5)
- Use metal shears to cut the shape.
- Drill holes in the same location of the the factory speaker mount holes.
- Cut a circle in the center that's big enough for the new speaker. (image #6)
- Line the new speaker up and drill holes in the new bracket where the new speaker will mount.
- Use the old speaker screws to mount the new metal bracket to the plastic speaker mount. (image #6)
- Use metal clips that come with the new speaker to mount the speaker to the new metal bracket. (image #7)
- I had to remove some of the outer edge of the speaker to make room for the four screws that attach the metal bracket to the plastic speaker mount.
- After the speakers are mounted in the new bracket, you can wire them into the existing harness in the plastic mount. (image #8)
- Install the new speaker mount assembly into the door frame.
- Connect the plastic wire harness.
- There are five screws that hold the plastic speaker mount to the door frame.
- Test the speakers to see if they work.
- Replace all the items on the door frame.
- Line up the plastic clips with the holes in the door frame and pop them back in.
- Place the window crank back on with needle nose plyers. Be careful not to lose it!
- Place the door latch back in, after connecting the rod, and slide it back into position.
- Attach the armrest.